— Going further: Improving the Interface
Historical background
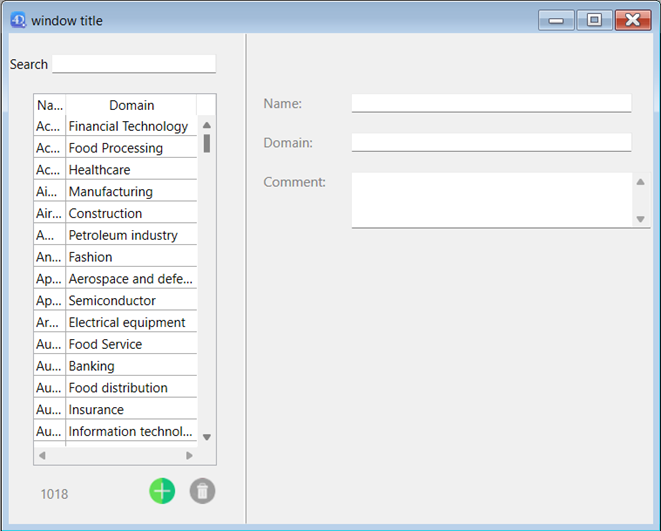
4D is known for being the first database environment to offer a fully graphical interface, both for the developer and the end user. This was in 1984, with the first Macintosh machines. Since then, the graphic capabilities have greatly improved over the decades, but the graphic spirit of 4D has always been and still is present.
Don’t cross boundaries
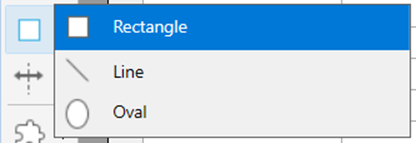
After positioning the separator, it is necessary to prevent user reactions. So, it is necessary to indicate the limits not to be exceeded. For this, we can take advantage of the graphic objects of type “Rectangle” which will serve us as a stop:
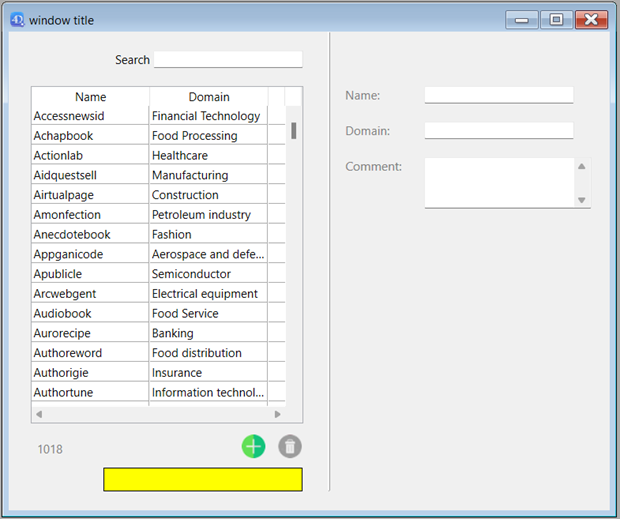
To identify this rectangle, coloring can come into play by setting its fill color property to fill:
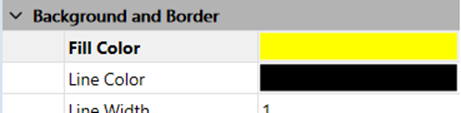
We chose yellow as it is a strong primary color!
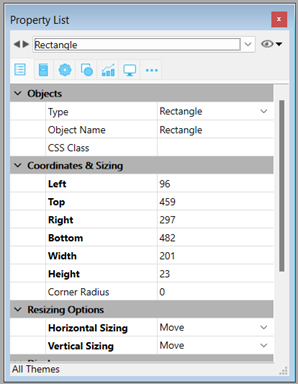
Because our rectangle remains stationary for now, when the form is resized, we will update its horizontal and vertical resizing options:
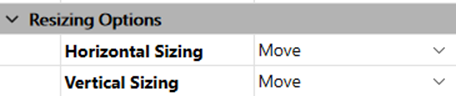
Once the two properties are set to “Move” or “Move ” in English, they will be moved to the left or right depending on the variation of the width when the user Resizes the window.
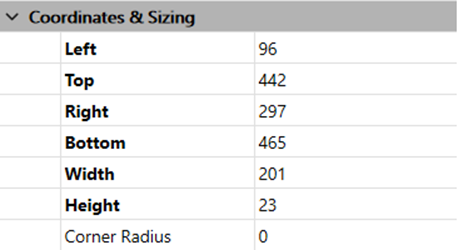
Now it’s time to adapt the lower coordinates of the separator to take into account the rectangle:
That’s it, we’re ready to execute our form!
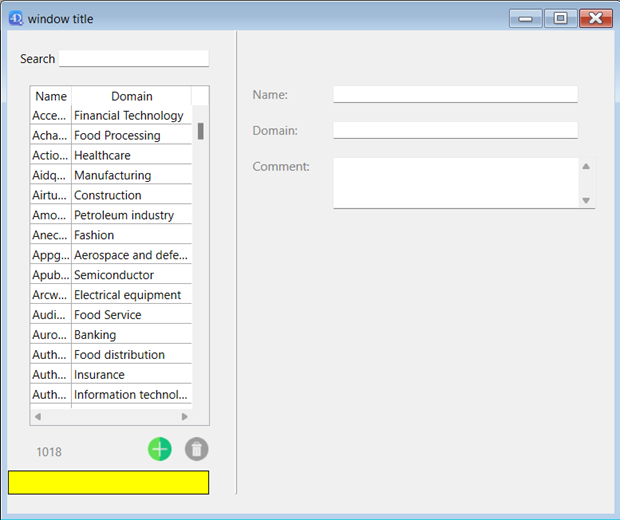
It’s time to test to see the result at this point. By pushing the separator to the left, we notice that the rectangle performs its job correctly:
We were looking to have a stop but one that will be invisible to the end user. We will therefore set the “Visible” property of the rectangle to the “Hidden” value:

However, after hiding the rectangle, we discover that the stop is no longer taken into account:
We have to fix the size of the form. For this, 4D allows you to define the size of the form and the window. The size options depend on the value of the “Size based on” option:
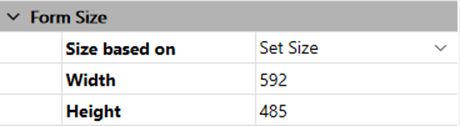
By replacing the value “Auto size” with “Set size”, the size of the form will then be based on the values entered (in pixels) in the Width and Height fields. Now, we will move the rectangle out of the form and make it visible again.
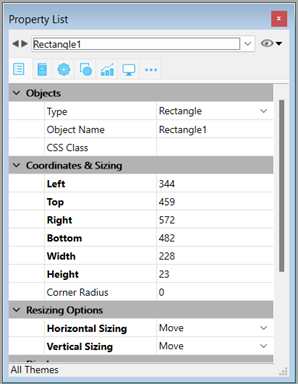
Notice that in the separator properties, we set the bottom to 600 pixels. Once the left part is ready, we can duplicate the rectangle to handle the right side of the form:
Here is what the interface should look like:

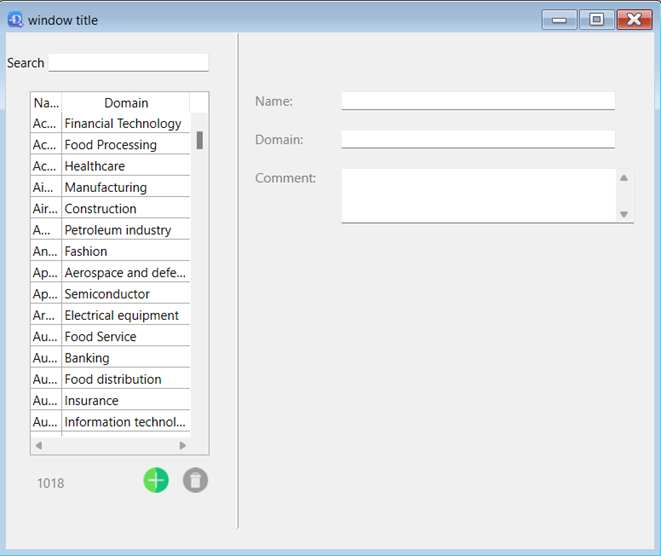
Test it! We see clearly, that after pushing the separator to the right, it works perfectly:
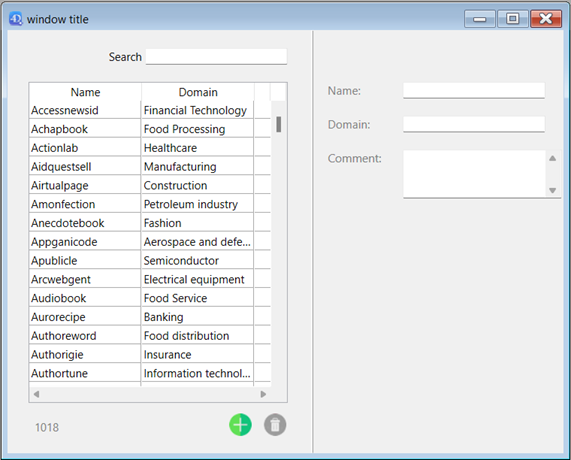
Push left to check that the yellow rectangle allows you to respect the boundaries of the separator as well as the display of the list box: