
1. 4, 3, 2, 1 … Go!
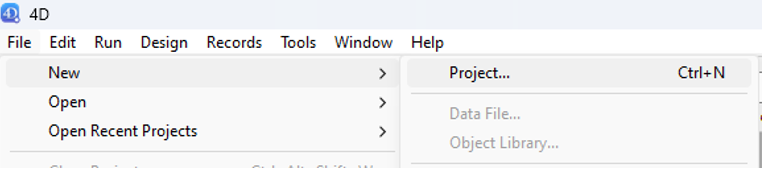
To create our first database, let’s start by launching the installed version of 4D. After launching the application, go to the menu at the top then choose File > New > Project… modif
Choose a location and give the project a name (we have decided to name it “ProjectManagement”).
After validation, the project is created on your storage device. Your 4D workspace should then look like the following:
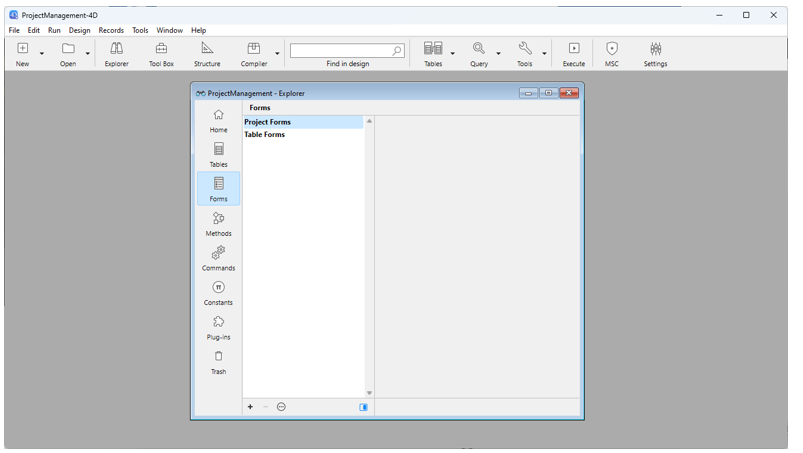
From top to bottom, we have:
- The menu bar.
- The design toolbar.
- The Explorer window.
That window allows you to discover the constituent elements of the database. Except that now, the exploration will be very limited since nothing has been created yet!